|
Layout Templates
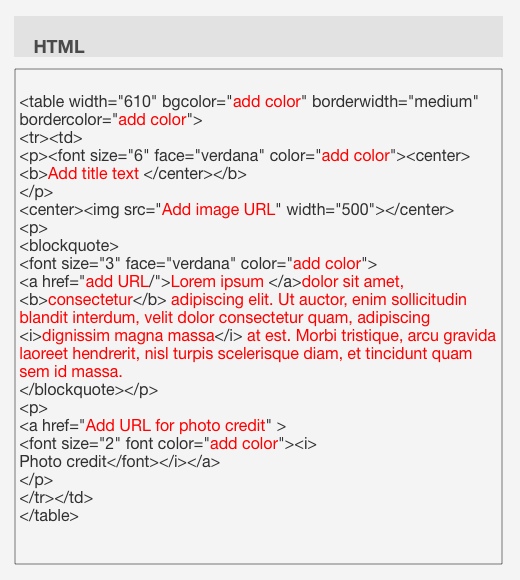
In the following pages you’ll find HTML codes you can use to design your own placemarks for Google Earth. Copy and paste the a provided HTML code into a Google Doc or Word document and start making your adjustments. The words in red will signify a portion of the code where you need to enter your own information. This will most likely include the color values that you want to use, or URLs for images or hyperlinks. You can always try to tweak your work with the HTML guidelines from The Basics. For instance, you may want to make a particular word bold or add an additional hyperlink. You can also increase or decrease font size if the provided size is not what you’re looking for. |
|
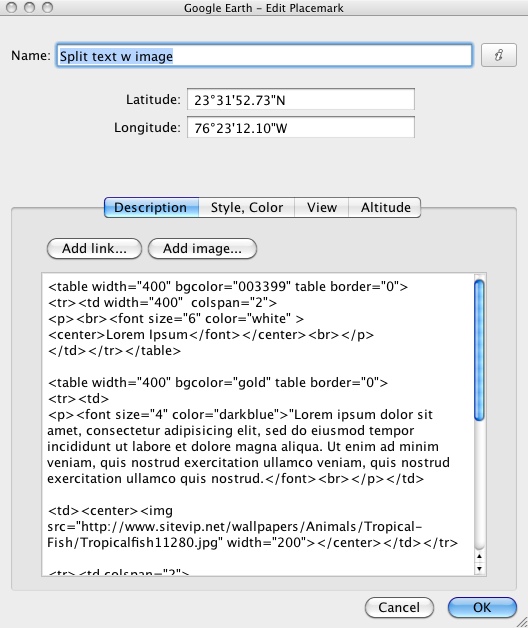
In most of the examples, I’ve used Lorem ipsum as a text filler. Delete this and enter your own text in its place. Please note that quotation marks are part of HTML language, so be sure to include them wherever you see them. When you see the cue “add color” delete the add color (not the quotation marks) and enter a color name or 6-digit code from one of these resources: Visibone's Web Color Chart or W3 School’s HTML Color Names. Enter in color codes such as 33FF33 or just try typing in the color you want. You’ll find many of the basic color names such as red or darkblue (no spaces) will work for you. Once you’re finished, copy and paste the HTML into the description box of a Google Earth placemark. Make sure it looks the way you want and that any hyperlinks are working properly. I’ve also included some additional advice for adding Google Earth placemarks on the More Tips page. If you’re not sure how to change icons or where exactly you should enter the HTML, you’ll find answers to those questions and more there. To continue, choose a topic from the navigation menu on the left. |


