|
More tips
This page takes a step back and gives some basic instructions for changing placemark appearance in Google Earth, as well as provides some other options you may not be aware of. Whether it's just a matter of finding the right icon or adjusting the view, there are a number of ways you can make your placemarks more presentable. |
Editing Placemarks
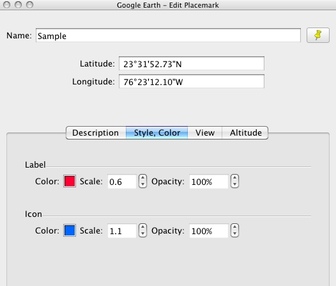
To edit an existing placemark, Ctrl-click on the placemark in the main window or sidebar menu if you have a Mac, or right-click if you’re using a PC. Choose Get Info; the Edit Placemark window should pop up. If it obstructs your view in the main window, you can drag it to the side.
When you select the Style, Color button you have those editing options for your placemark’s icon or label. Adjust to your preference; I always consider the Google Earth background colors when determining mine. The screen can get cluttered if you use a large Scale number. Typically I use 1.0-1.2 for Labels and 0.8 for Icons. |
Choosing an Icon
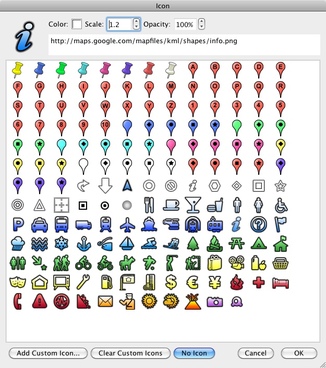
You don’t have to use the yellow push-pin for your placemark icon; there’s a large selection of options to choose from.
To get to this pop-up window, click on the yellow push-pin icon located in the upper right corner of the Edit Placemark pop-up window. You have the same color and scale options as before, although some color options won’t work well with the icon. Map Icons Collection is a website that has a large icon library of over 700 free map icons to choose from. Search the Marker Categories menu for what you need. You’ll find that you can edit the colors for these icons also. Adjust the color scale, click on Generate, and you’ll see 6 or more icon variations. Copy the image location of the icon you like (Ctrl-click on the icon if you have a Mac, or right-click if you’re using a PC) . Back in Google Earth’s Icon gallery, you’ll see the Add Custom Icon... option at the bottom. Select that and paste the image URL from Map Icons Collection. Awesome resource! |
Editing a Placemark
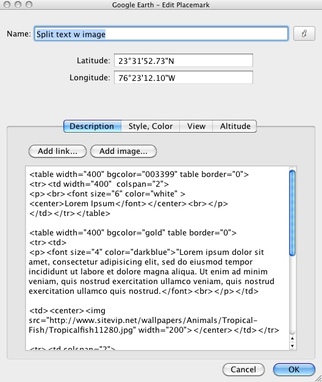
When you have edited the HTML layout you want, you’ll paste it in the Description portion of Edit Placemark menu. No need to use the Add link... or Add image... buttons - you’ll have formatted that already yourself.
Click OK and make sure it looks the way you want it to and that your hyperlinks function properly. You can always go back and change values that didn’t work out right. If it looks like a mess, then you probably have an error in your HTML. Remember, quotation marks are required in the right spot, angle brackets (<,>) need to be facing the correct direction, etc. etc. Don’t get frustrated! The placemark will provide clues as to what went wrong. If the image didn’t work, then check the HTML for that section, and so on. |
Snapshot View
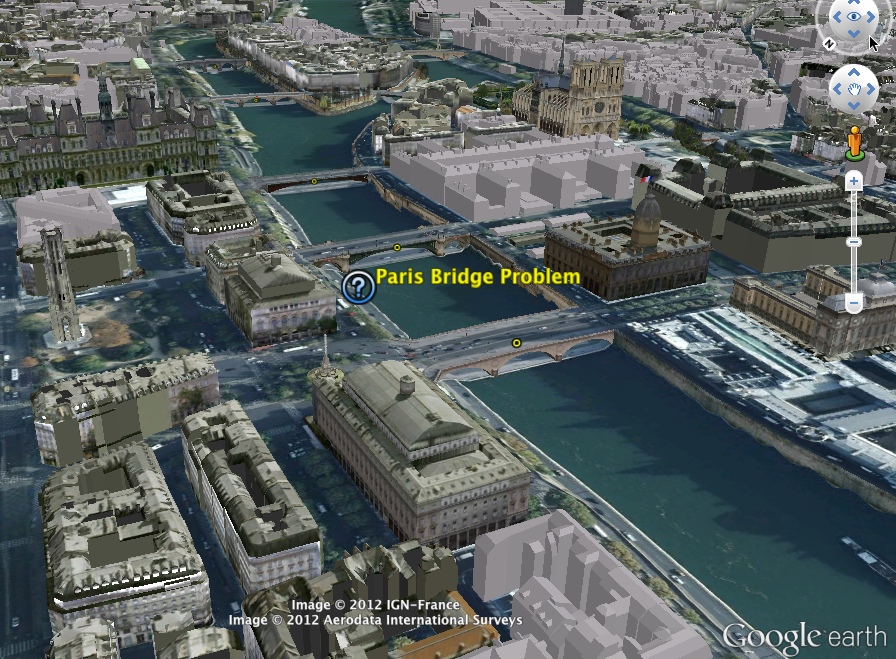
I always adjust the view of my placmarks; rarely do I use a birds-eye view. You can set how your placemark is seen, each time someone clicks on it, by using the Snapshot View command.
First, adjust the viewing angle and elevation using Google Earth’s navigation tools. Get it to a spot you like and then lock the view in. This can be done in two ways: Ctrl-click on the placemark in the main window or sidebar menu if you have a Mac, or right-click if you’re using a PC. Choose Snapshot view. You can also find this command in the View portion of the Edit Placemark window. You can set the viewing angles for folders and paths also in the same fashion. |
Keep it organized
Finally, now that you’ve done all this work, make sure you keep it organized and safe. You should be using folders to keep your placemarks in order. Always give titles to your folders’ elements so that you know where to find what you want. If you’re missing something in your sidebar, it may be that you inadvertently placed it in a different folder. Work carefully and you’ll avoid needless scavenger hunts. I always backup my Google Earth work by saving Kmz files of the folders on my desktop or backup drive, and I also send copies of them to myself using Gmail.
Final Word
I hope you have found this guide helpful and that it helps you create new material for Google Earth. With a little practice I’m sure you’ll do great. Most of what I learned about HTML was self taught from W3Schools.org. Another resource is HTML.com (previously HTMLcodetutorial.com), which covers everything to do with HTML from the fundamentals to some of the finer details. There may be some methods that I didn’t use, but hopefully it will all work for you.


